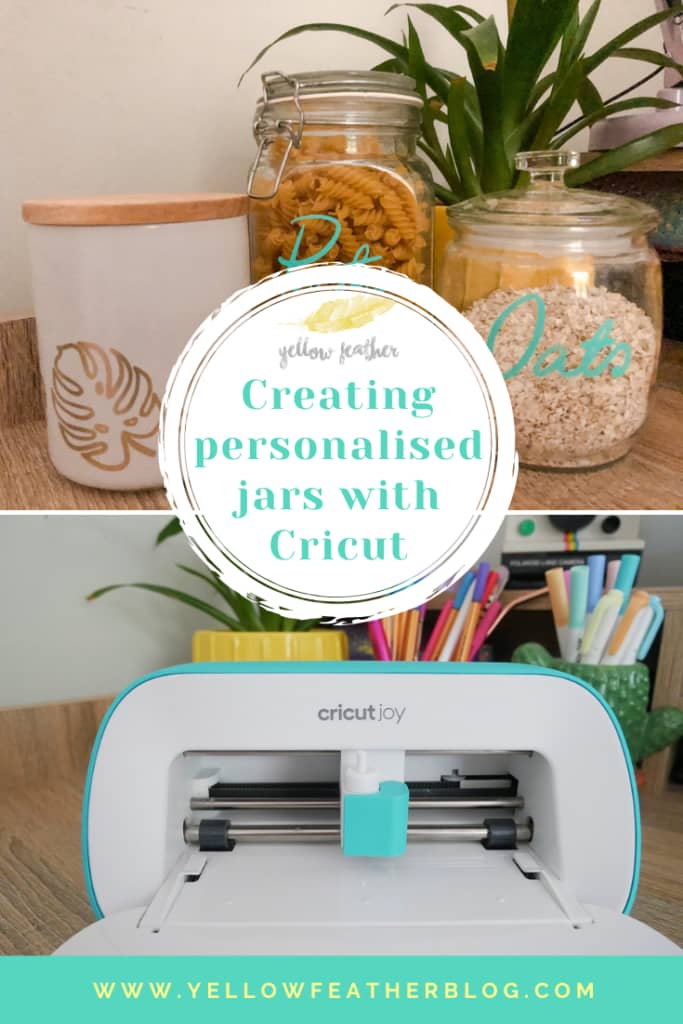
Creating personalised jars with Cricut
It’s been a really long time since I did a craft project. Since leaving the UK I haven’t really stocked up on crafty materials so when Cricut got in touch to see if I wanted to try their Cricut Joy cutting machine, I jumped at the chance.
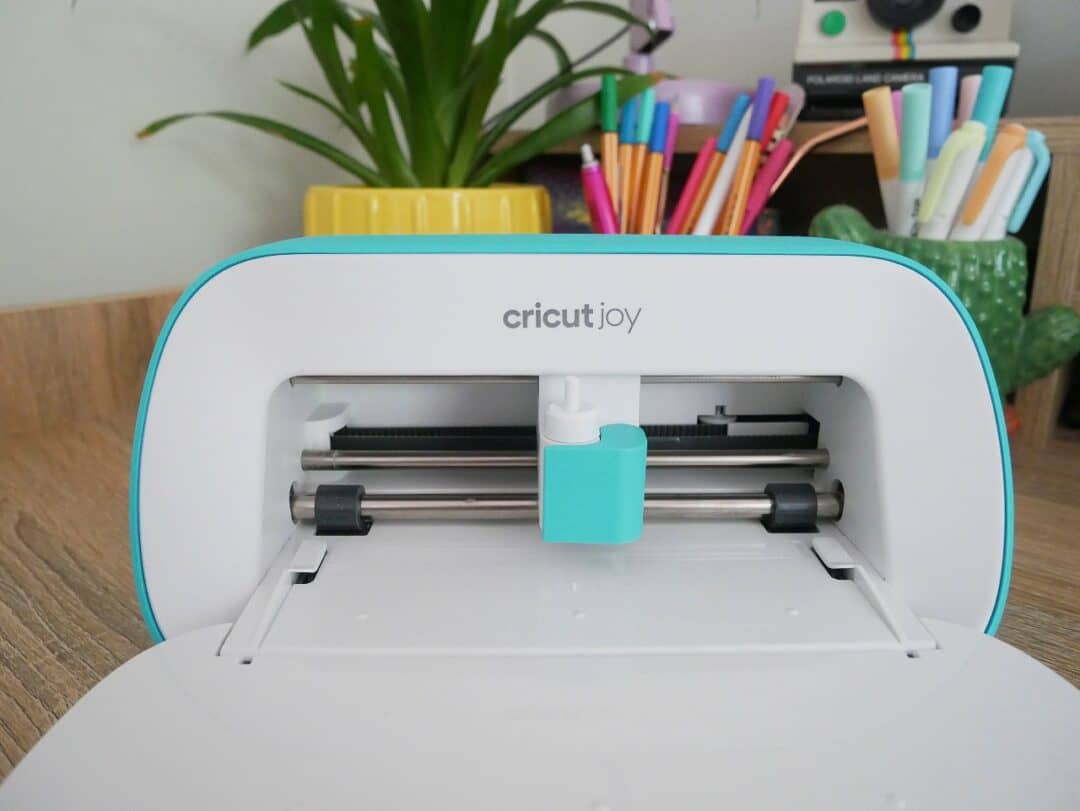
I love the smaller size of this model. It makes it super easy to store, especially if you don’t have a dedicated craft space. Despite it’s smaller size, the Cricut Joy can still pack a punch. It can cut (up to 20 feet at a time!) and draw on a huge range of materials. From vinyl, to cardstock, to iron-on transfer paper – anything you want to personalise Cricut Joy can help.
To use the machine you download Cricut’s Design Space, this is where you create all of your designs and send them to print. The app works both online and offline and it even comes with free projects you can do straight away. Those really help you get used to the machine. For a small monthly fee you can subsribe and unlock even more fonts, designs and projects.
Note: If you’re in Australia or New Zealand Cricut Access is only available on the mobile app.
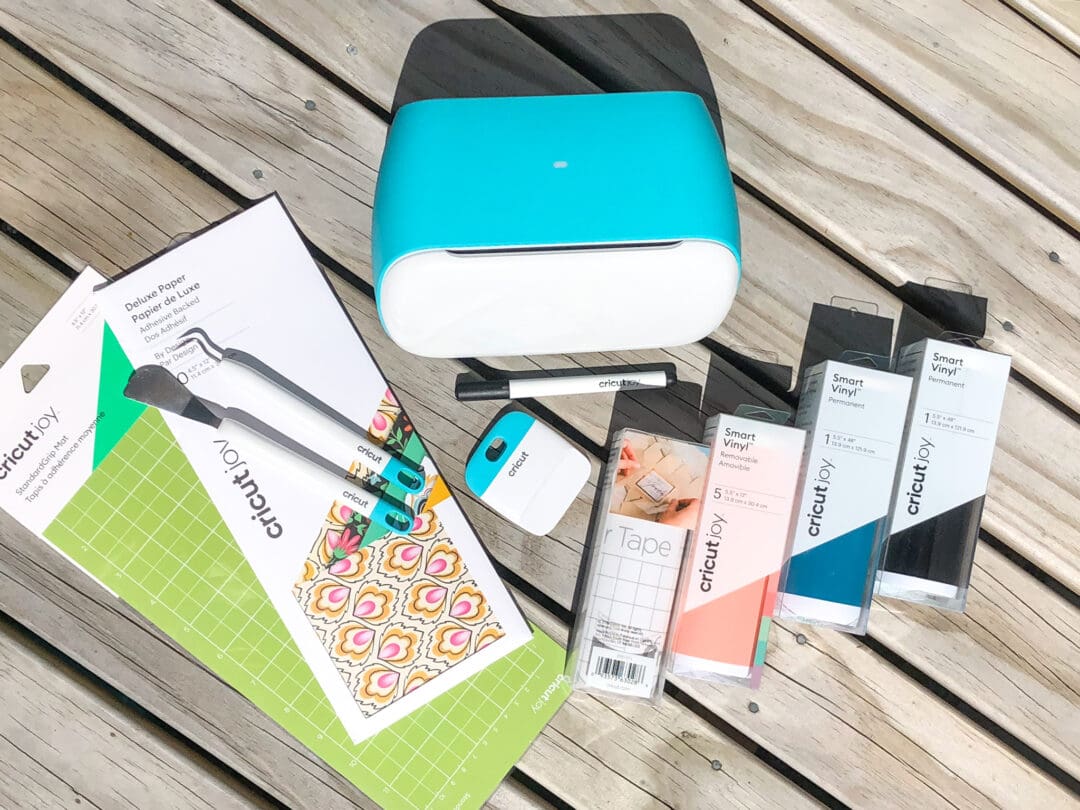
Just look at all the goodies they gave me! Whilst today’s crafts focus just on vinyl labels, I’m excited to play around with all the things this powerful machine can do. It feels so good to be making things again! Next on the list, card making.
Handwriting pantry labels
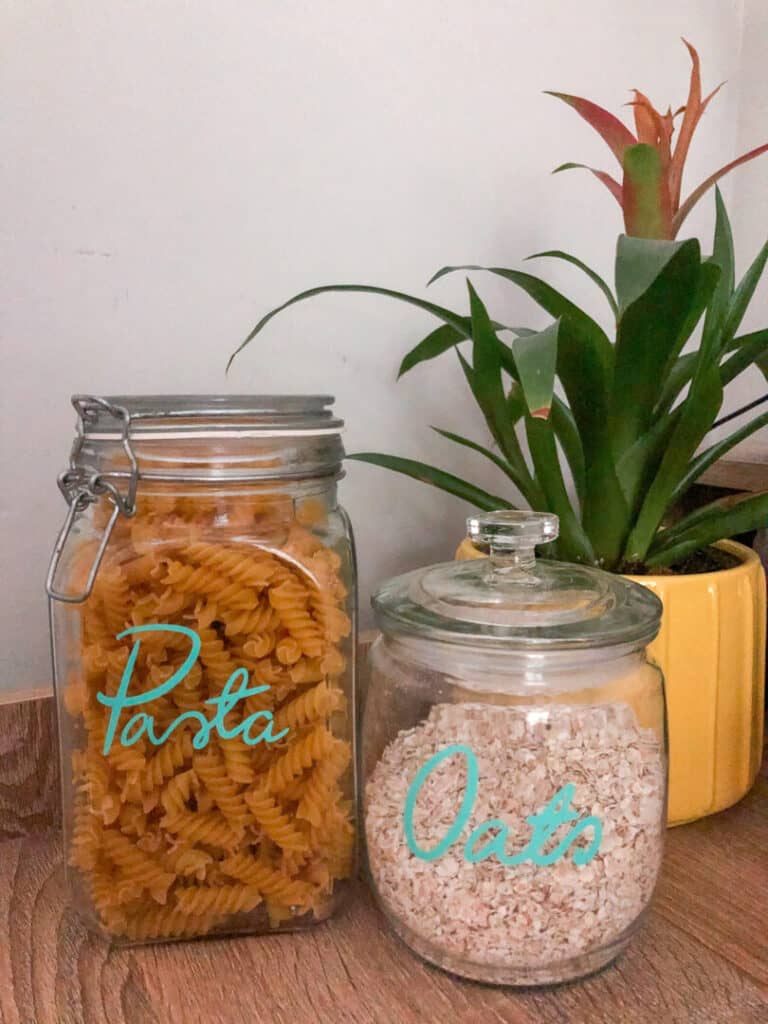
I know labels are one of the first things that springs to mind when they find out about Cricut machines but it’s just one of many awesome things they can help you make. So I decided, for my first project, to go back to basics and get my label maker on.
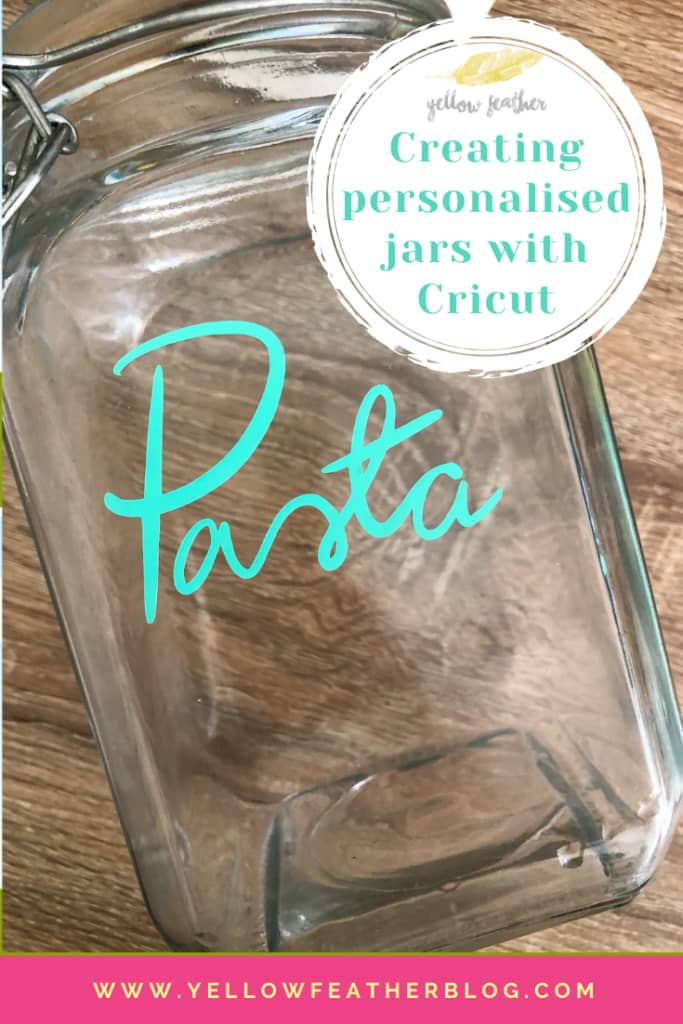
But I still wanted to challenge myself. Way back when I used to have a kitchen full of glass jars which I labeled using a chalk pen. I wanted to replicate this but in a more permanent way using Cricut vinyl.
Cricut Design Space has a tonne of fonts to choose from, you can also download your own onto your computer and Cricut will find them. But I decided to challenge myself. I wanted to make a pantry jar label using my own handwriting. Not only would it give them an even more personalised feel, but it would be a great way to learn more about how to use my new Cricut.
I started by drawing my words in Procreate on my iPad. If you don’t have an iPad you could draw using a mouse/stylus or even scan in your handwriting.
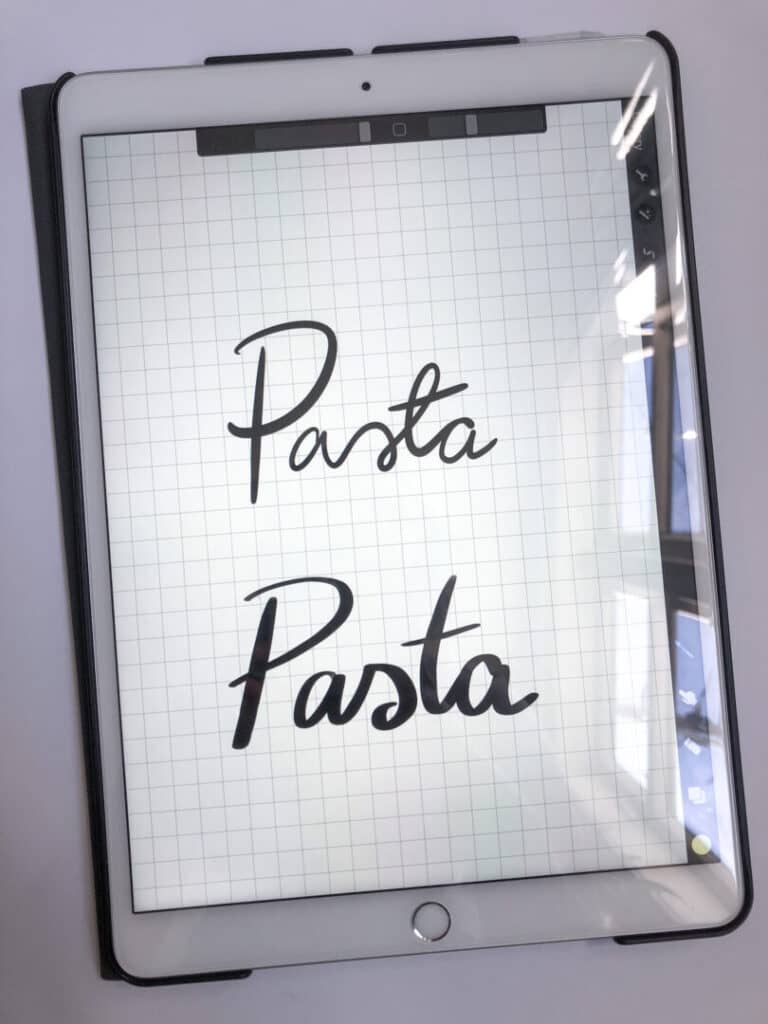
You can see that I drew my words with two different pen styles. I preferred the top option but wasn’t sure if it would look too flimsy when cut, so the bottom option was my back up.
I exported the image as a PNG file (Cricut will let you upload most file types including JPEG) and uploaded it to my Design Space.
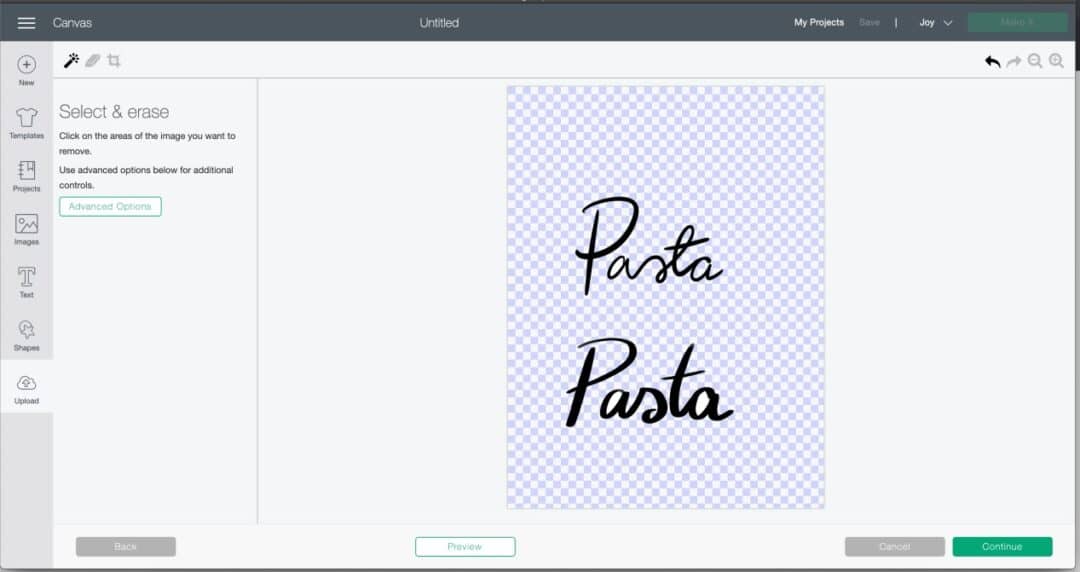
You’re then taken to the above screen where you can remove parts of the image that you don’t want added to your design. For me that was the background and the centres of letters like ‘a’. Just click on the area you want to remove and the blue checkerboard background indicates it’s gone.
I did the same for my second ‘oats’ label and played around with the sizing. I’d measured my jars so I knew the maximum width I wanted my letters to be and inputted that in the width box.
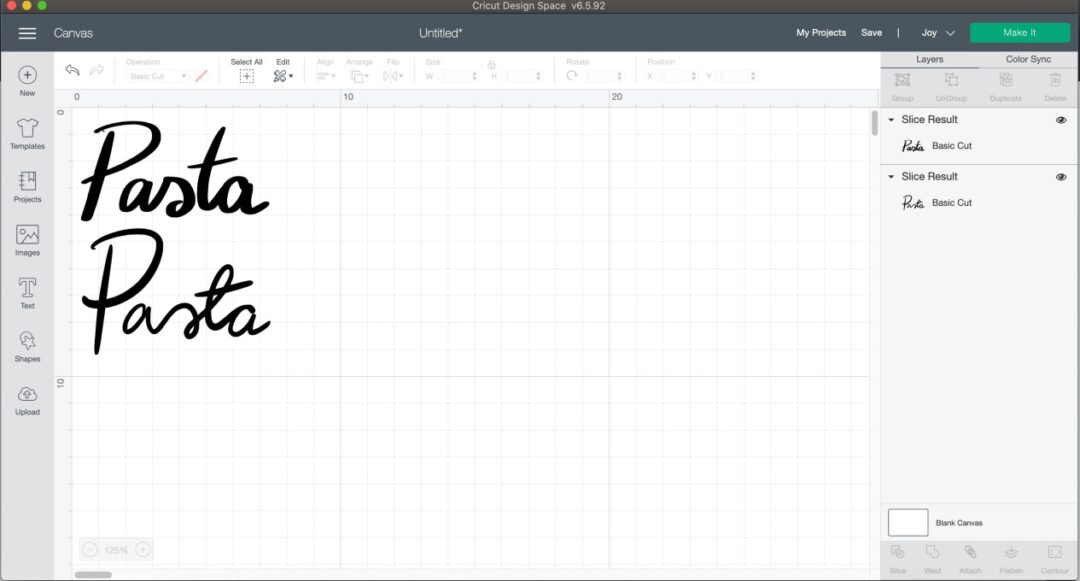
A quick note: When you upload a design, the whole thing is one image. That means my two words couldn’t be separated or moved individually. To do that I needed to crop one out. I found this really helpful tutorial on how to crop an image in Cricut Design Space.
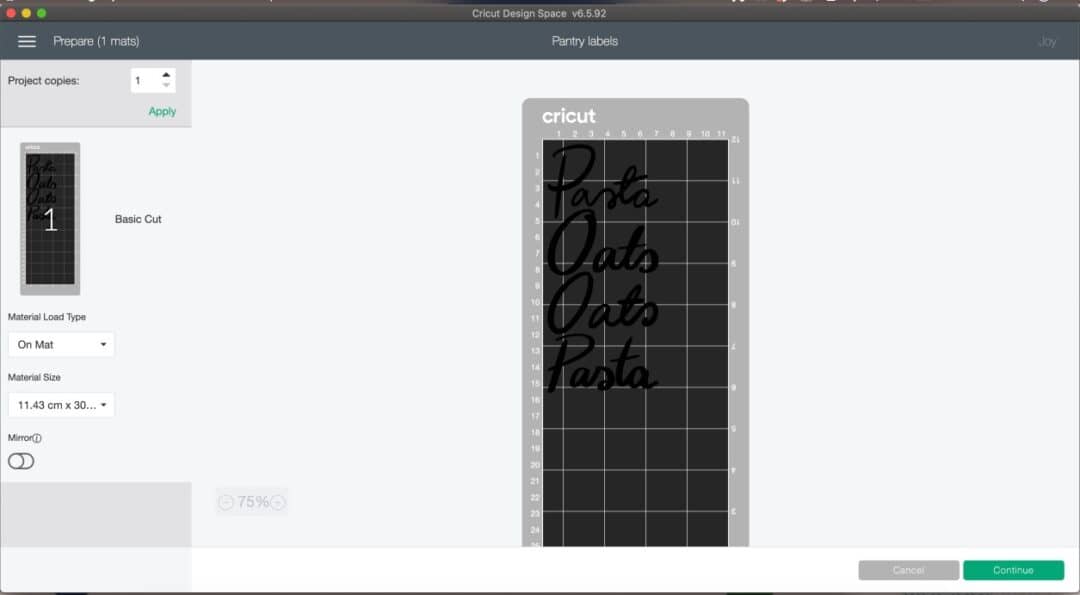
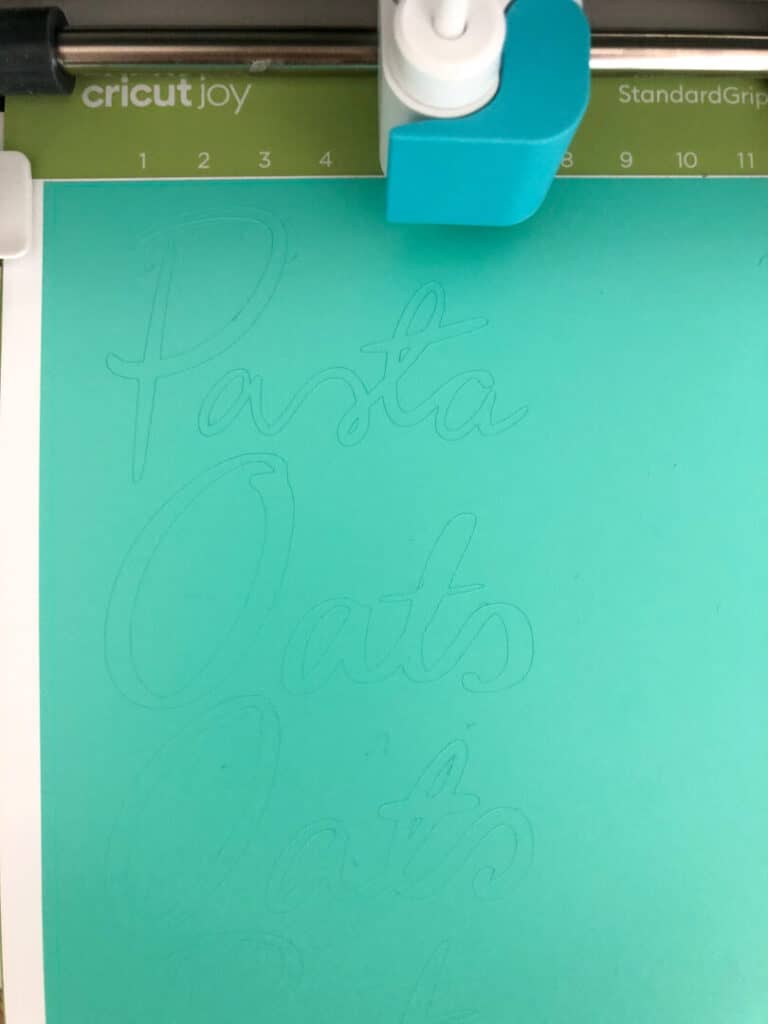
Here’s the final print layout. When you’re at this stage Cricut automatically places your design elements on the mat in a way that maximises the space. You can rearrange them yourself on this screen but you cannot resize them. If you need to make changes or resize you can click ‘cancel’ and go back to the Design Space.
You can see above that I printed out four labels even though I only need two. At this point I still wasn’t sure which handwriting style was my favourite, I had an idea but wanted to see the finished cut versions before I decided.
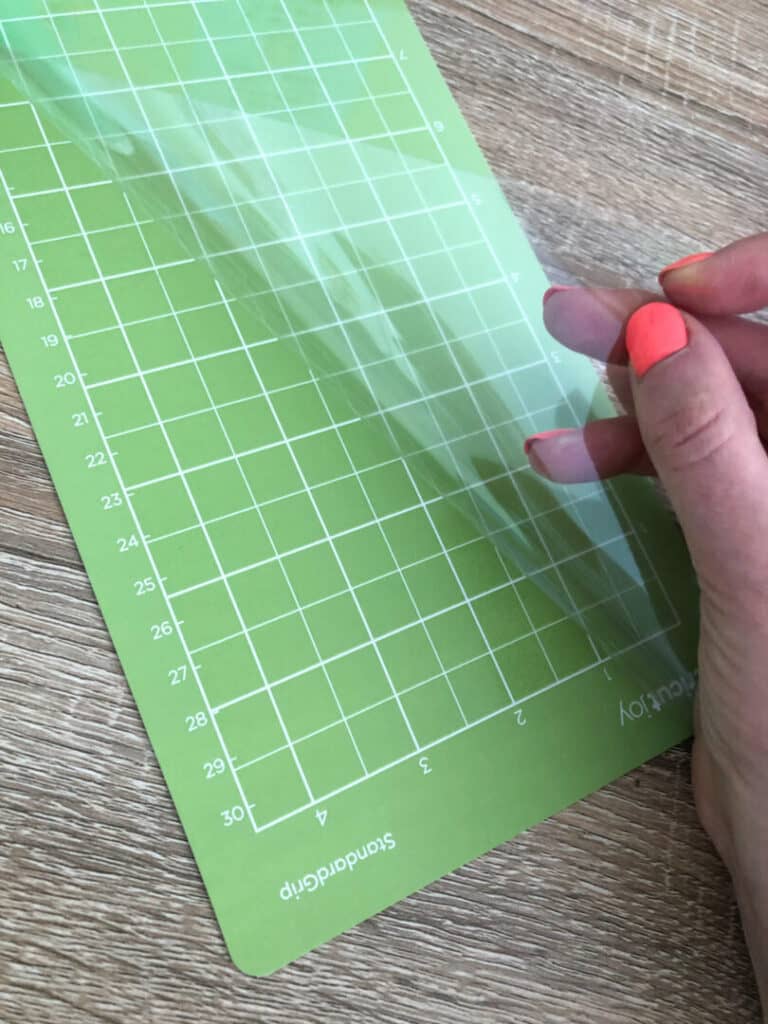
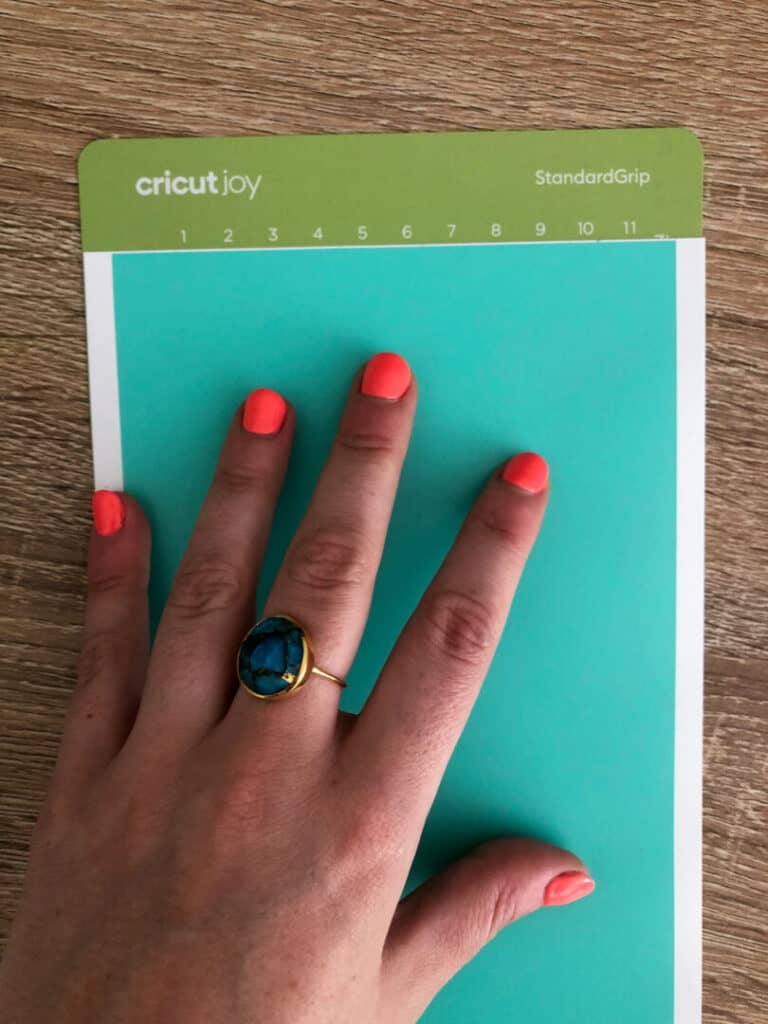
I placed my vinyl on a long cutting mat, it sticks really well to the adhesive mat which holds it in place during cutting. Make sure you keep the plastic cover for when you’re finished though.
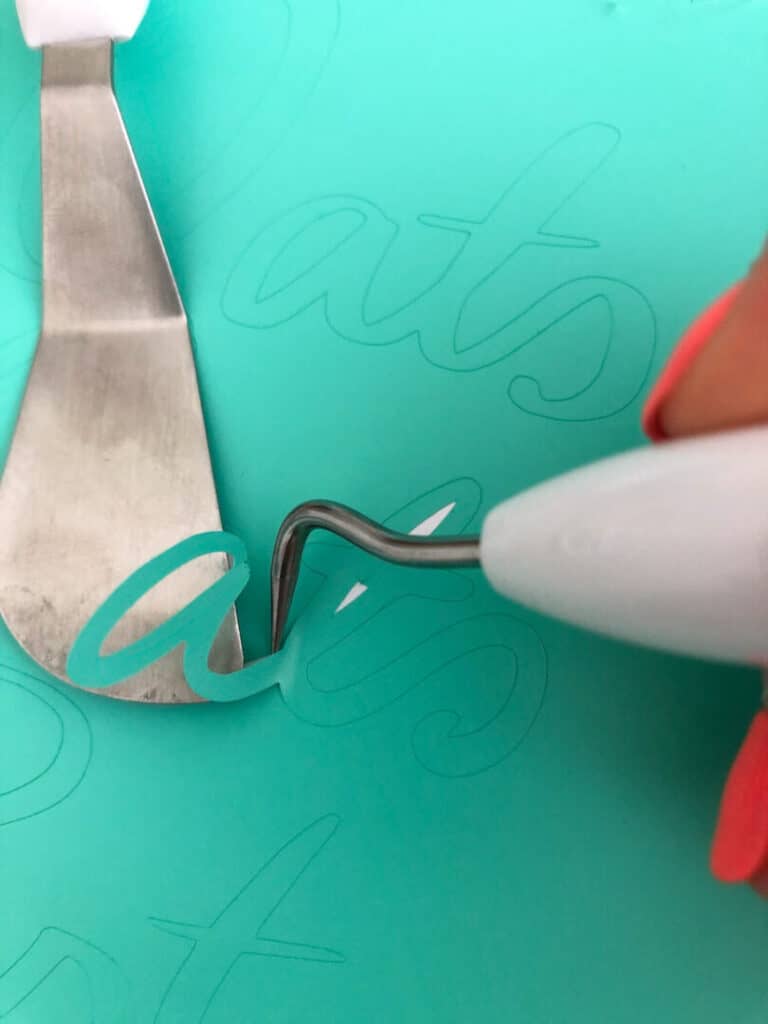
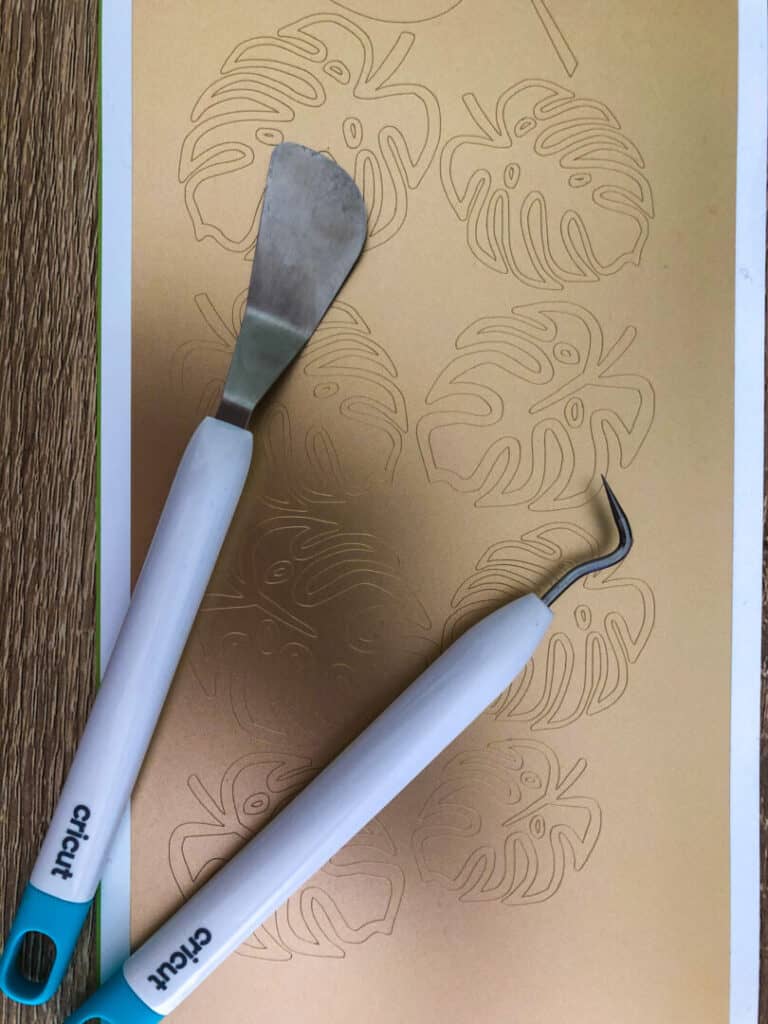
I find weeding the vinyl a really fun, relaxing part of the process. You need to go slowly and delicately so as not to damage your design.
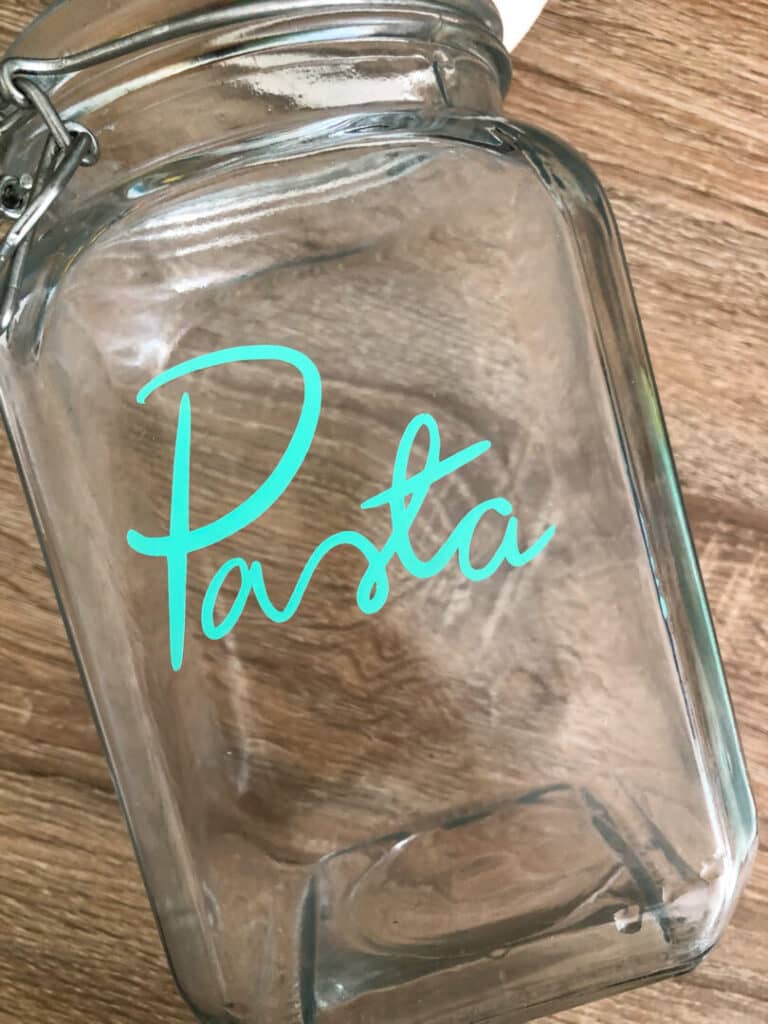
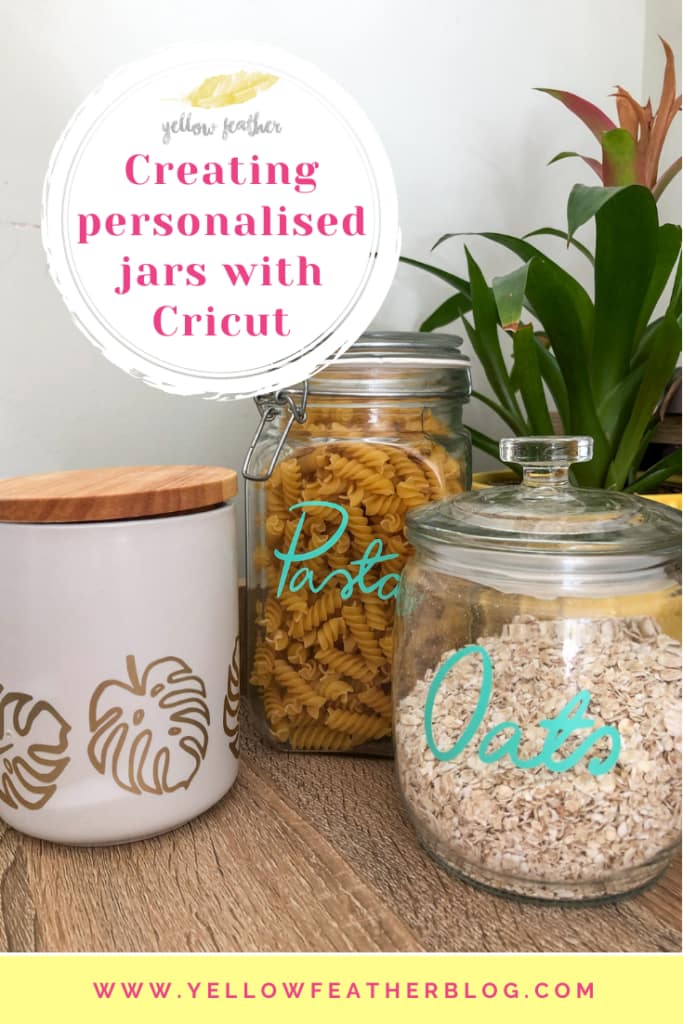
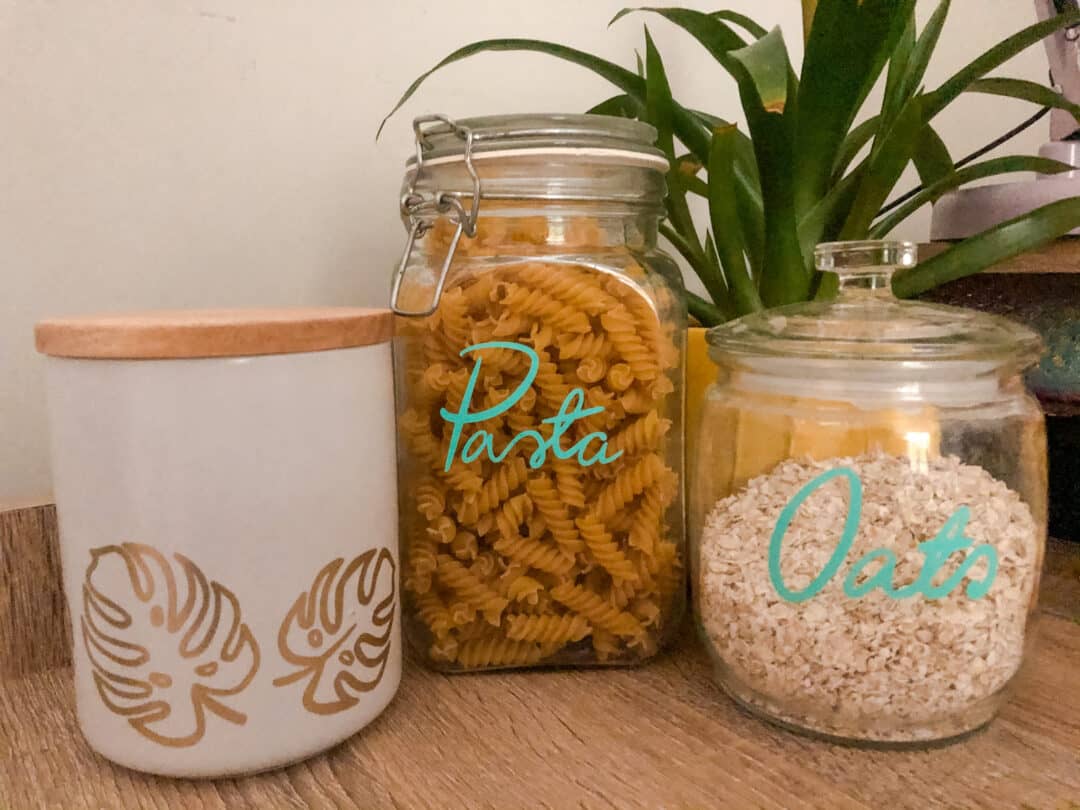
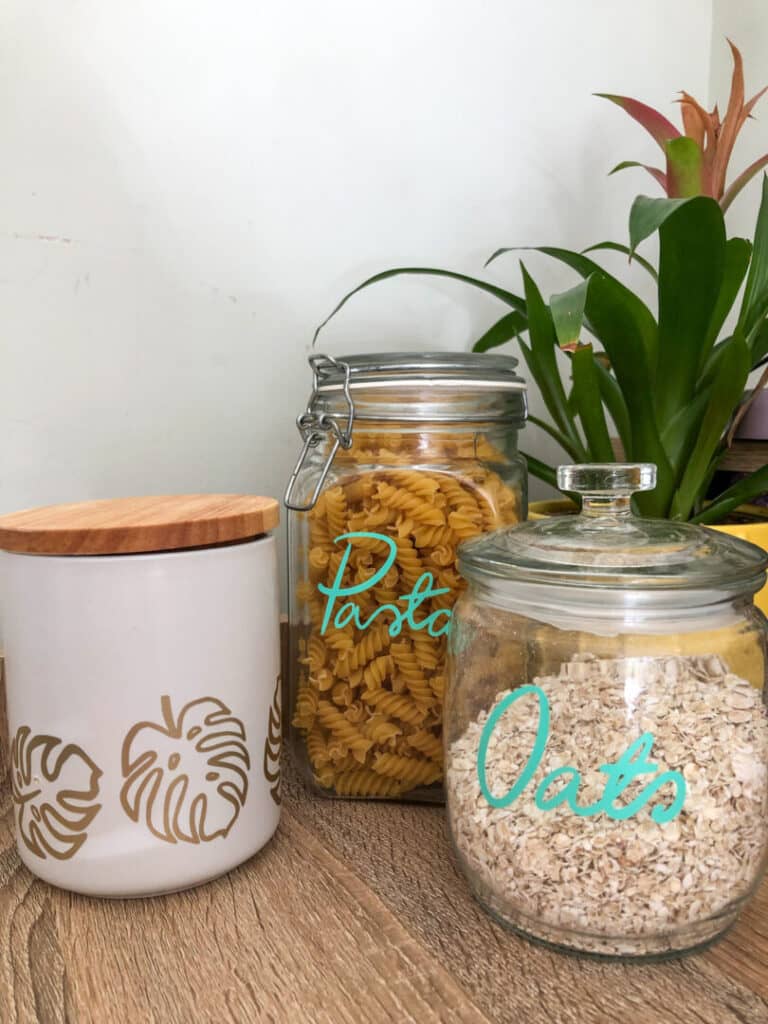
And here’s the finished jar! I’m so happy with how it turned out. The aqua colour is so bright and fun, and I love that it’s unique because it’s my handwriting.
Gold monstera leaf jar
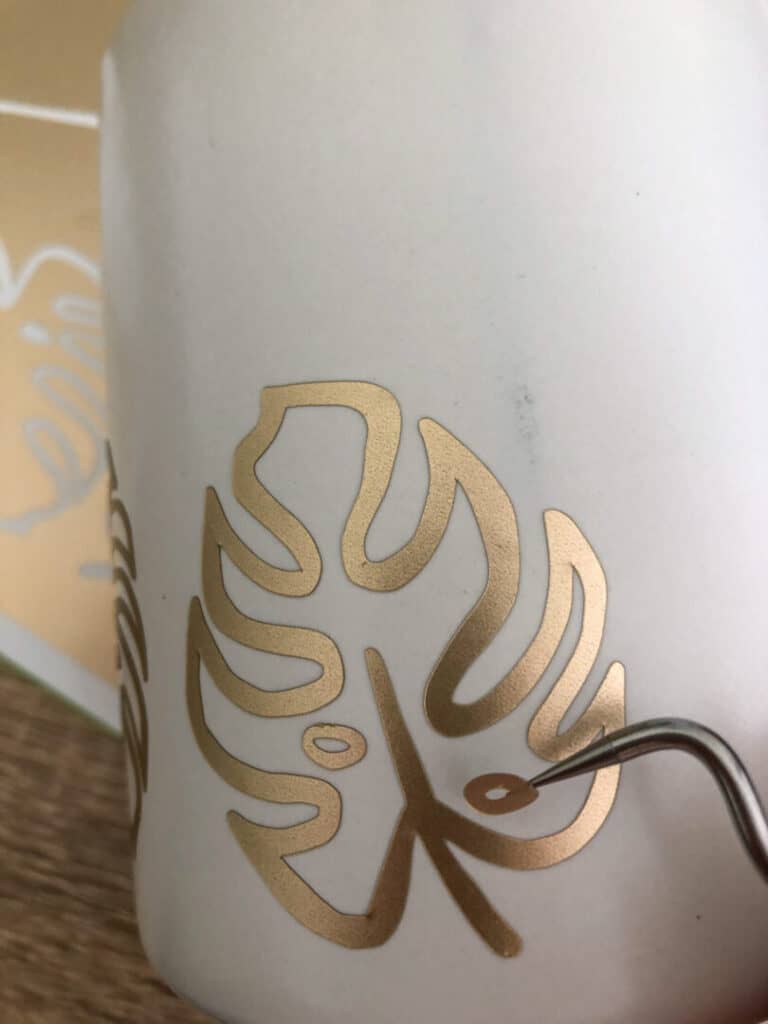
I bought a cute white jar with a bamboo lid that I knew I could do something fun with. In the box of goodies Cricut sent there was some gorgeous gold vinyl. I decided on a monstera leaf pattern because I’m obsessed with my plant babies.
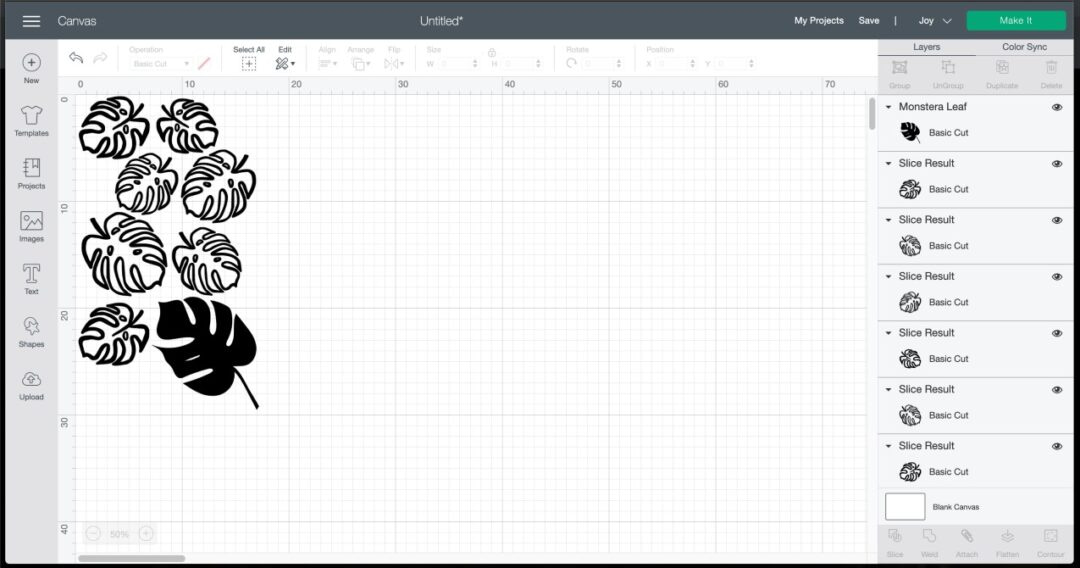
Here is my Design Space. I drew the monstera leaves on Procreate and imported them using the same steps as the labels above. I used the duplicate tool and also flipped some of the images so I’d get a variety of leaves facing different directions.
The black leaf is actually an image I downloaded. It’s a SVG file which means it can be resized without going pixel-ey, and is a file format recognised by Cricut.
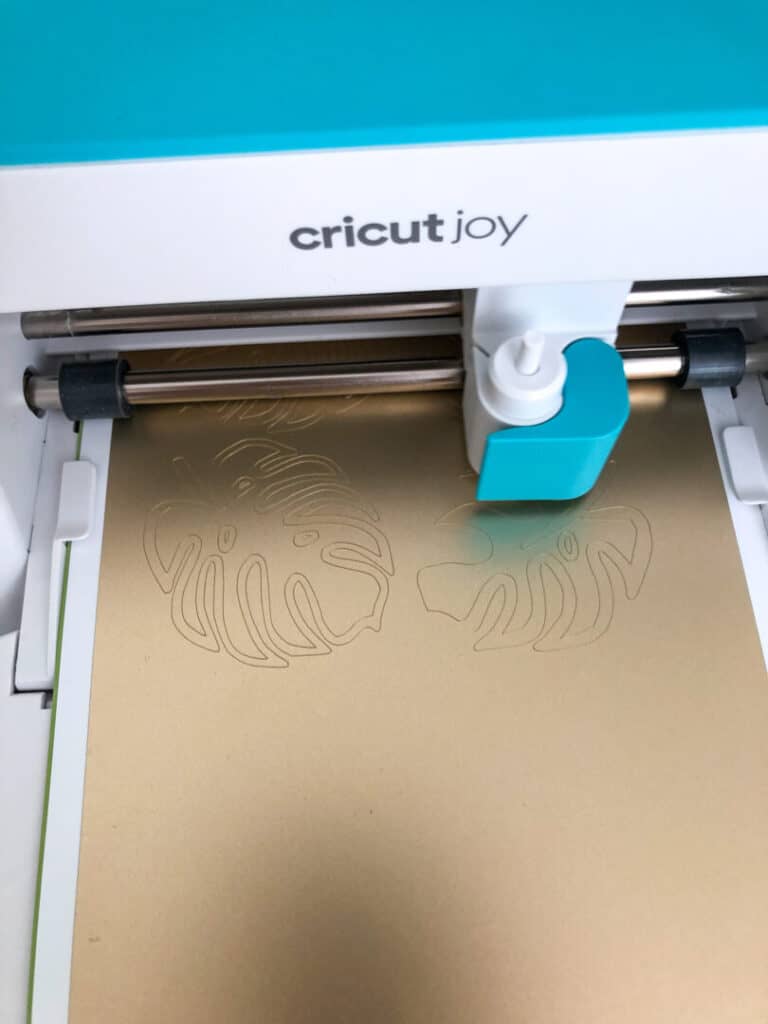
How beautiful is the finish on that vinyl? This is their permanent vinyl too, so it should be pretty hard-wearing.
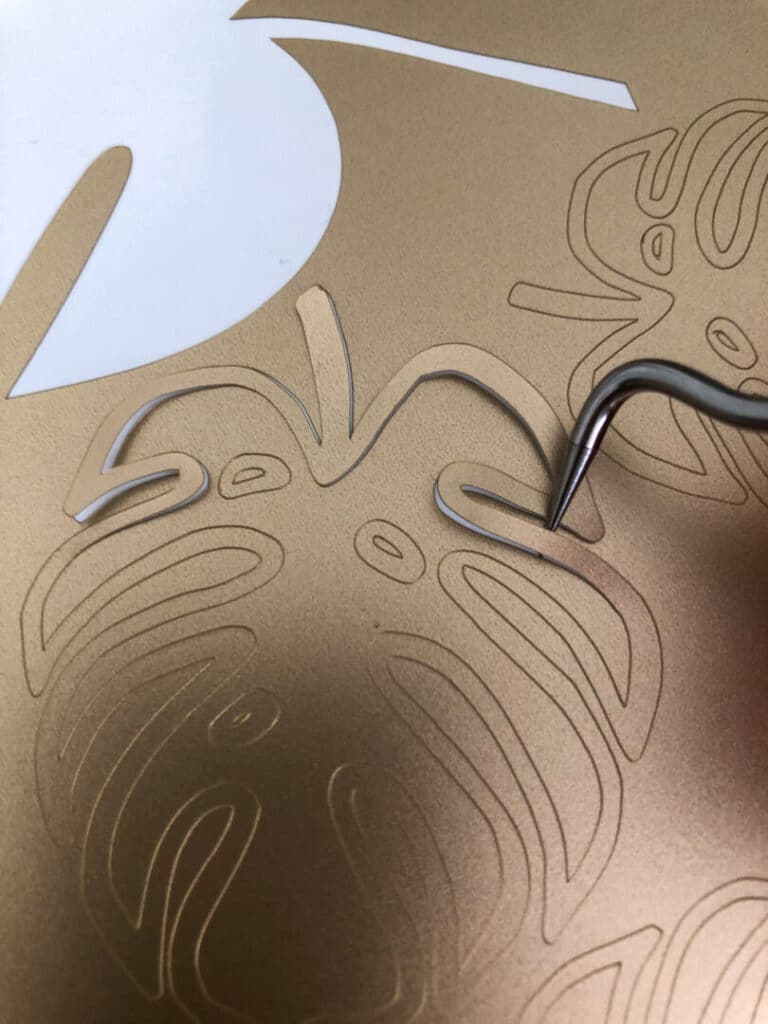
This was a slightly fiddlier design to place because it had separate pieces within the leaves, I just eyeballed it. But you can also use Cricut’s clear transfer tape to lift the design as a whole from the cutting matt to your surface.
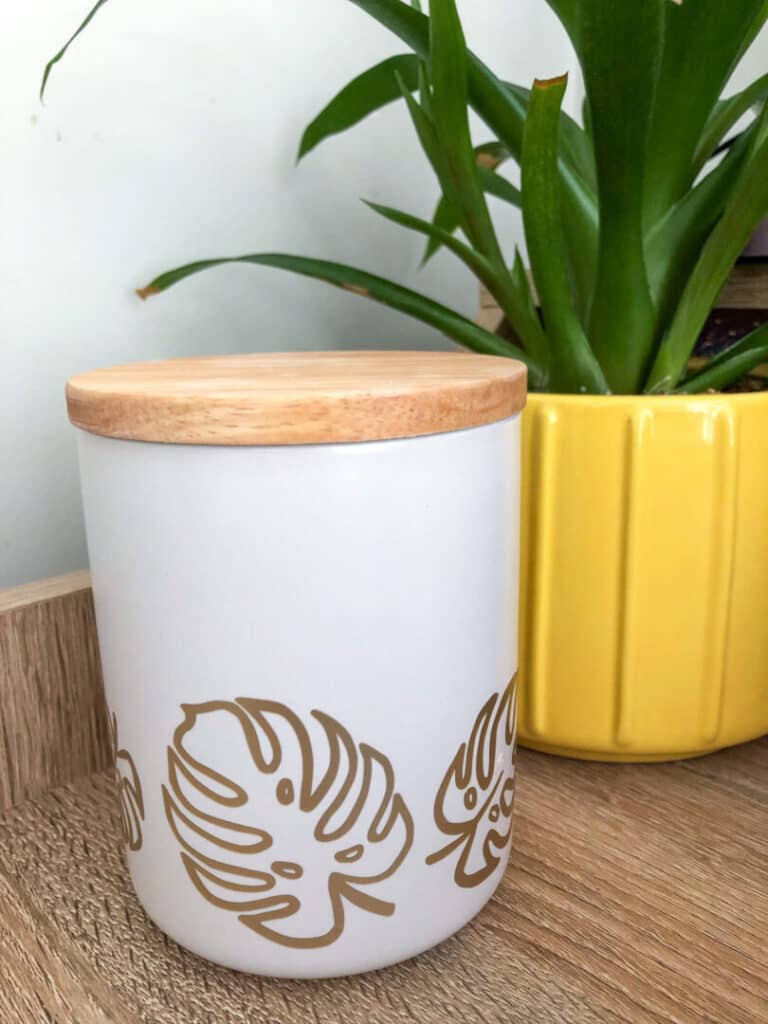
Here’s the finished jar, with the monstera leaf pattern repeating all the way around. It turned out so cute! I definitely want to use the metalic vinyls for more projects.
The vinyl is really versatile and can be used for a lot. I’ve seen some cool projects printing off words for wall/mirror decals – mine would have to say something like ‘Don’t forget your f*cking SPF!’ because that’s one of my regular struggles. Also kinda tempted to make a Love Island water bottle.

I hope this has been a helpful introduction to some of the cool, creative projects you can do with Cricut. If you’d like me to do more posts about this, or even in-depth step by steps for how to make and import your own artwork for Cricut, let me know in the comments.
Love, Sarah x